Configuring your kiosk
To provide maximum flexibility, you can configure each kiosk you have in a number of different ways

Name – this is simply a useful reference to differentiate multiple kiosks. It’s for administrative purposes only
Allow login – via password – This allows users to login to the kiosk using the email and password that they would normally use in InfluxApp.
Allow login – via search – This allows users to search for themselves and simply select their name to login. As the kiosk is only used for bookings and checkins, there is little room for abuse, but if your members are cautious about privacy, you should disable this option.
Self checkin – This has three settings: Not available, logged in only and anonymous. Whilst the first two are self-explanatory, the anonymous checkin means that no-one needs to be logged in to allow members to be checked in to class. This does mean that any one can log any one else into class, so should generally be used in trustworthy situations.
On card scan – If you are using our RFID/barcode reader functionality, you can extend this to the kiosk too. This has four settings:
- No action – nothing happens
- Display options – the member is presented with a popup which asks them if they wish to checkin or login
- Automatically checkin – this will automatically checkin the member to whom the toggle or barcode belongs without any further user interaction
- Automatically login – this will automatically login the member to the kiosk without any further user interaction.
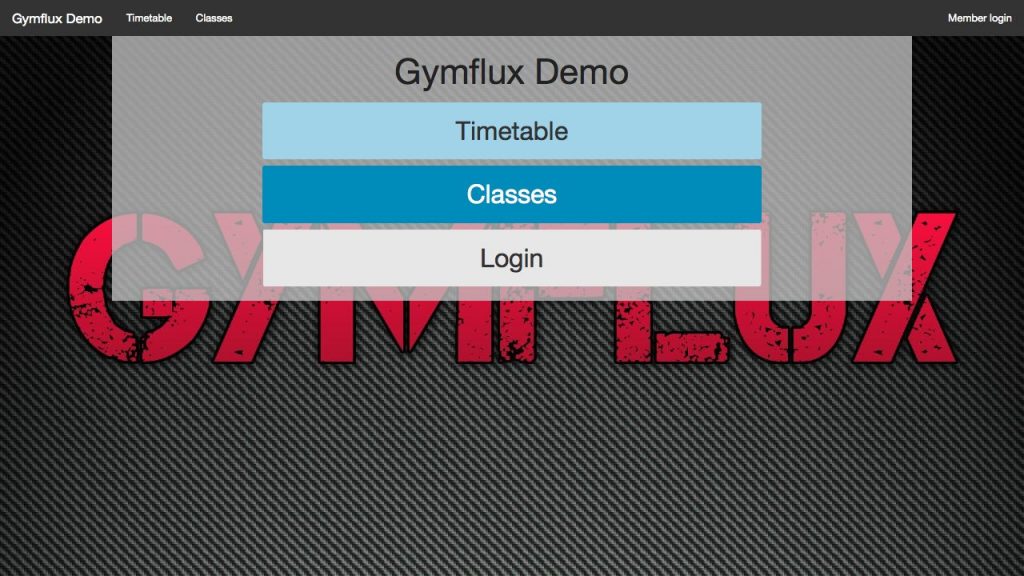
Show – The show option refers to which screens you wish to display on the kiosk and you can choose from timetable and classes. The timetable is pageable realtime schedule of available classes. The classes screen is a display of daily classes that can also be navigated through. This is the easiest screen from which to do self checkins and an example is shown below.

Backdrop
You can change the backdrop of each individual kiosk for branding and marketing purposes. This is accessed from the kiosk show page by selecting the existing image.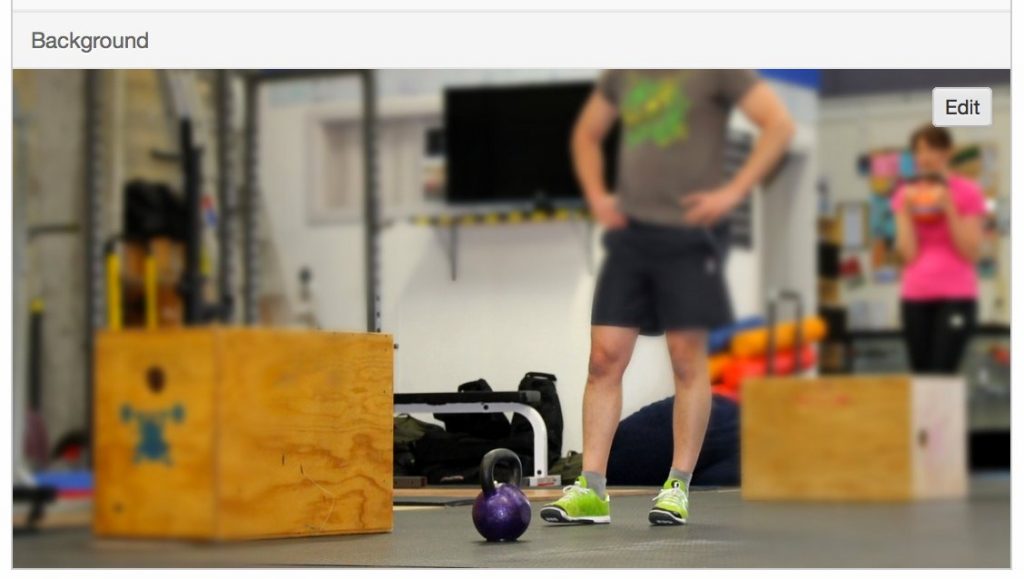
Simply select edit and you will be prompted to upload an image. It’s best to choose, or prepare, an image that matches the native resolution of the device you’re wanting to use as your kiosk (and this varies greatly from device to device). Below is an example of a custom image we’ve uploaded.
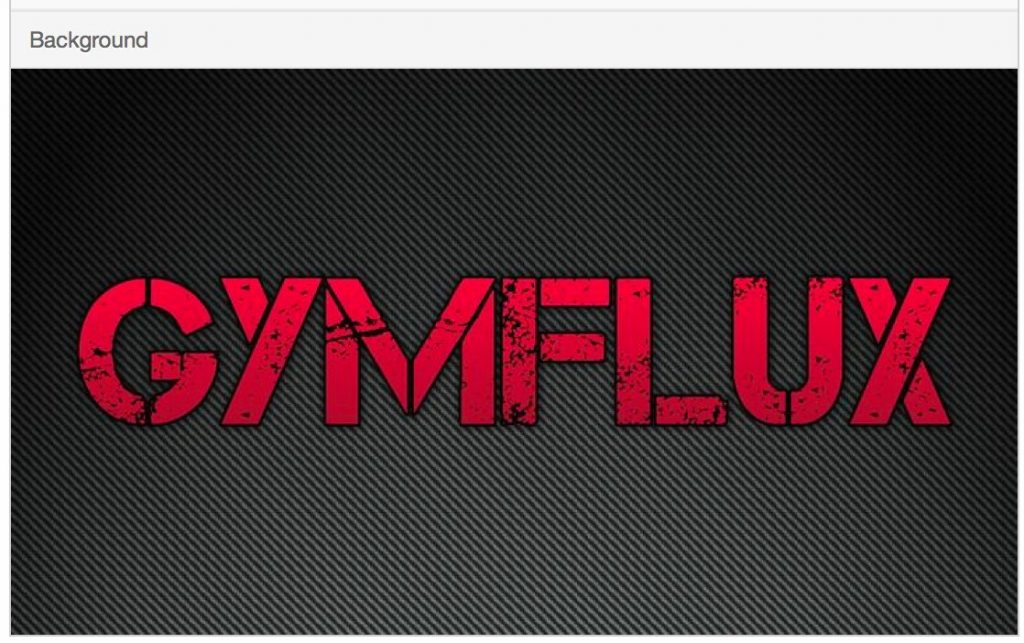
And this new image will flow through in a short period of time to the background of your kiosk without further interaction.