Adding a kiosk
There are two ways to create a kiosk within Influx
Create during InfluxKiosk login
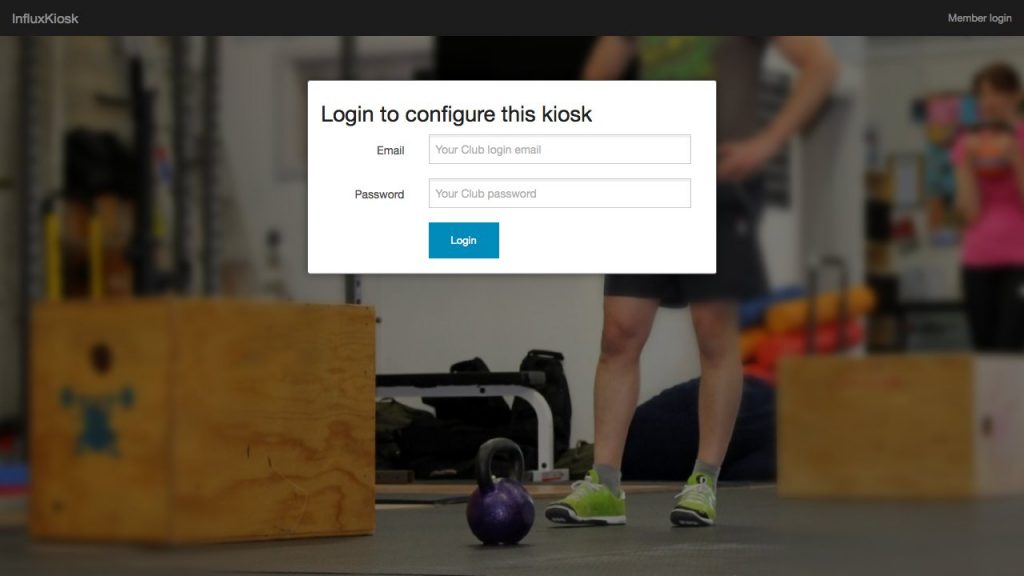
The easiest way to get started is to navigate directly to InfluxKiosk (https://kiosk.influxhq.com) on the device you plan to use for your kiosk. Whilst you can use a computer with a mouse attached, we recommend a touch based device such as a tablet.
You will now need to login with an administrator account to configure this device as a kiosk:
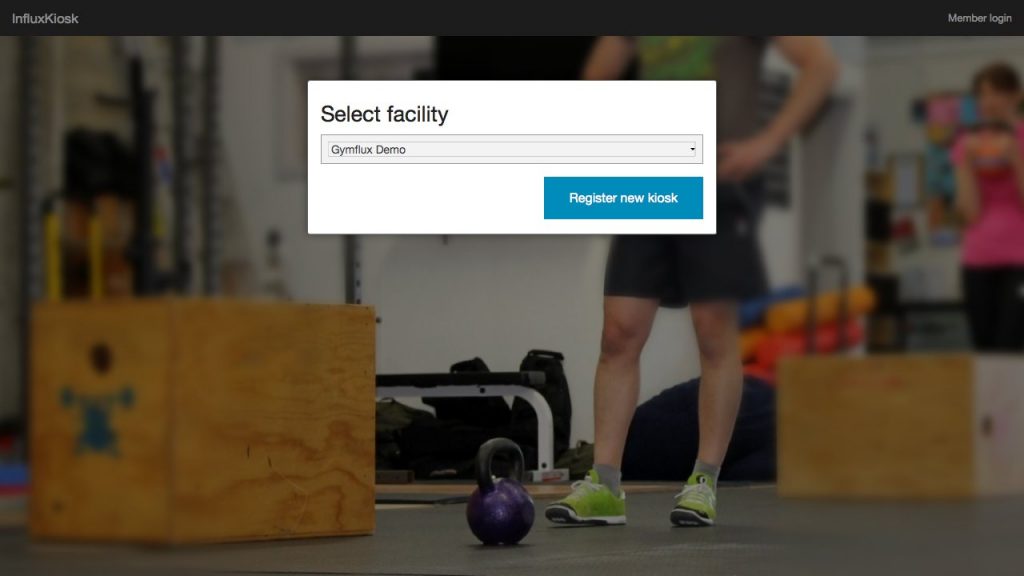
Once you’ve logged in, you can select the facility you wish to create the kiosk for. This option only applies when you’re an administrator at more than one facility.
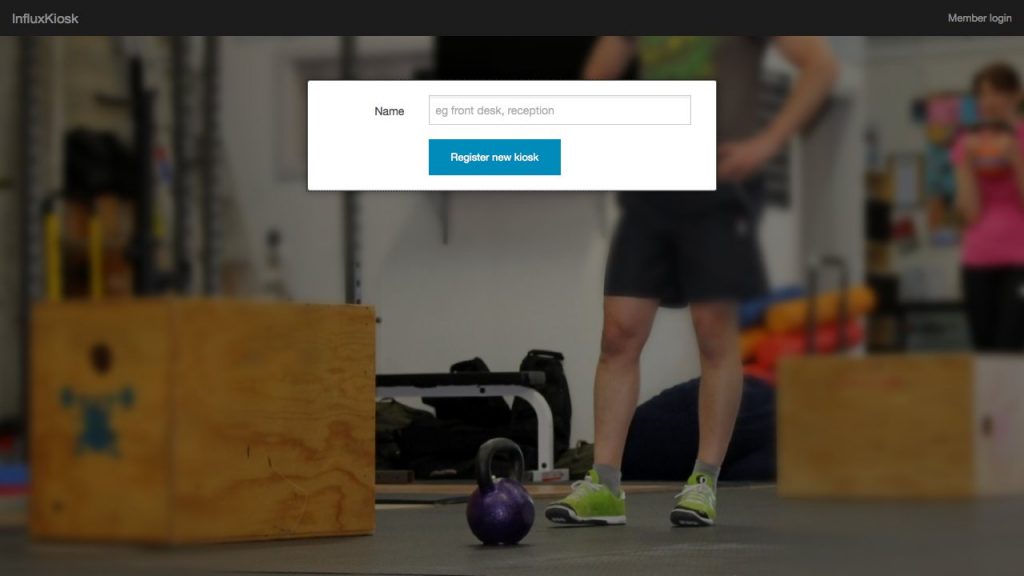
Then the only remaining task is to give the kiosk a descriptive name for managing purposes. This is most useful when if you want to configure more than one kiosk, e.g. at reception and outside a satellite studio.
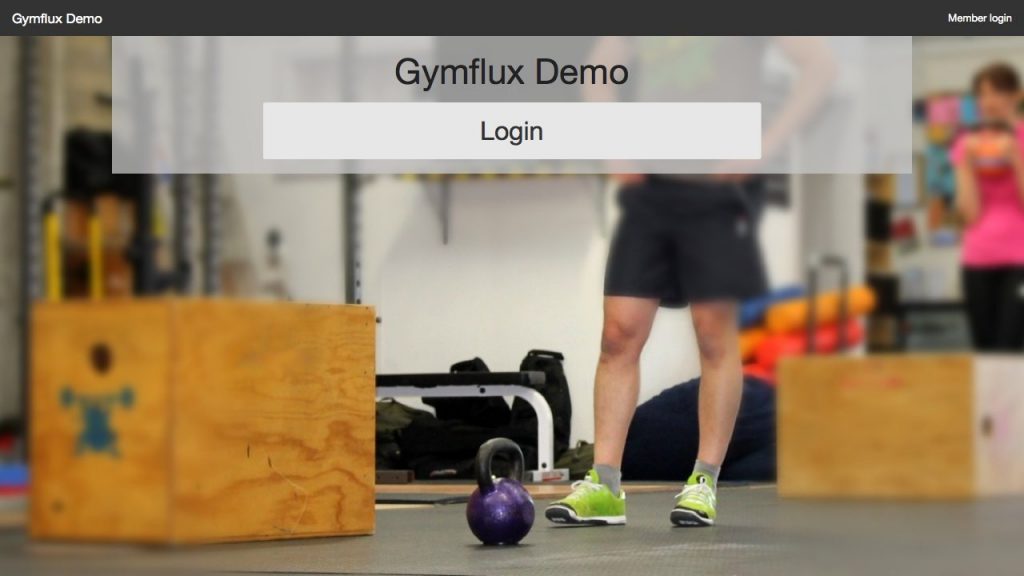
The final screen you will see is the default screen for your kiosk, now it’s time to configure your kiosk
Create in InfluxClub settings
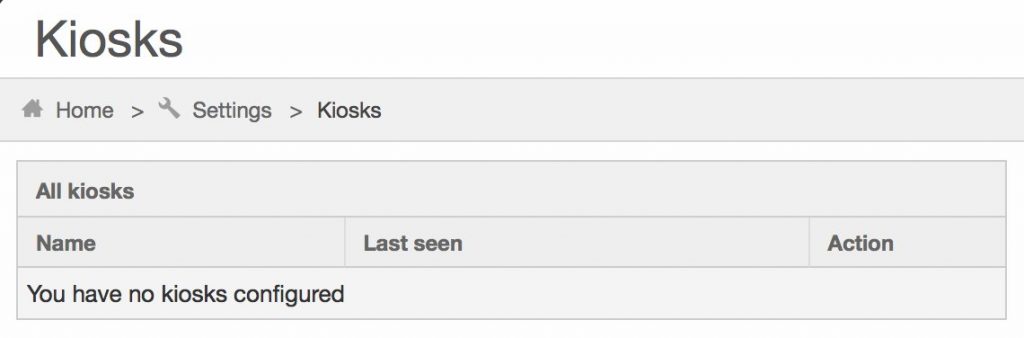
In InfluxClub you need to navigate to Settings>Kiosks to create a new kiosk. By default, unless you’ve created one already as above, you will have no kiosks configured.
Select the “New Kiosk” button on the top right of the page to continue.
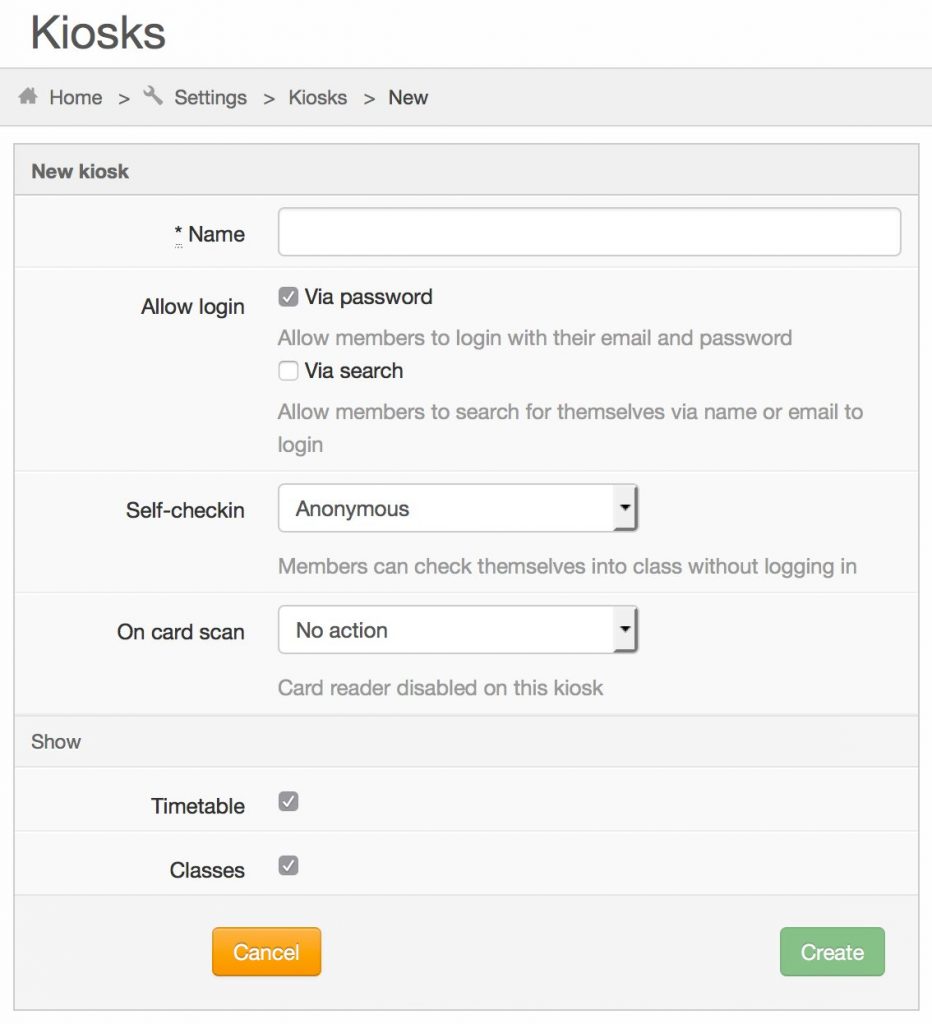
Now you have access to all of the available options which you can read about on the configure kiosk page.
Once you have created the kiosk, you can now login to the device on which you wish to operate it from using an account with admin privileges. You then simply need to select the kiosk you’ve created already and you will be taken to default kiosk view page as shown below: